Here is a quick outline of a method for turning drawings into prints. Just a few major steps, if you have any questions about intermediate minor steps (there are quite a few) do not hesitate to ask.
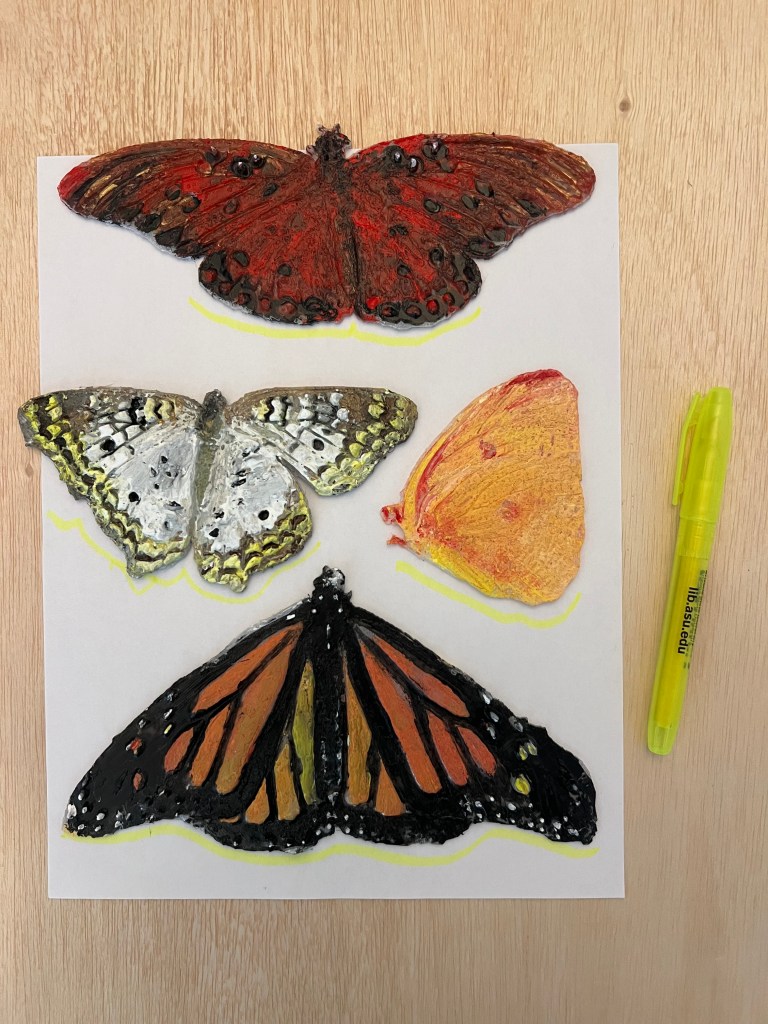
Step 1: prepare your drawing.
In this instance, I used some earlier prints I wanted to display with a stand. I arranged them and traced the support areas with a highlighter marker.
Step 2: digitize your drawing.
Photographs work fine or flat scanners work better for this. Bring the photo into your photo editing software.
Step 3: prepare a high contrast image of your drawing.
I did this in a free photo editor. Turned the yellow into black and the page into plain white background.

Step 3: give your drawing depth in 3D.
Use the high contrast drawing to extrude the object. I did this in a free 3D modelling software. This time, I needed a frame to structure the supports for the objects I wanted to display. Made that frame quickly while in the 3D model making software.

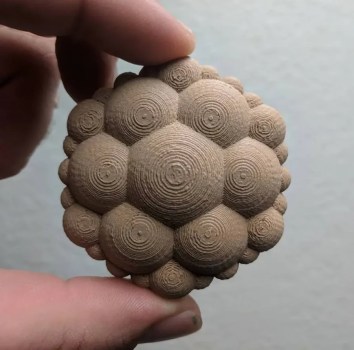
Step 4: print your drawing.
Export your files out of your 3D software and into your slicer and print as need be. I used a desktop printer.

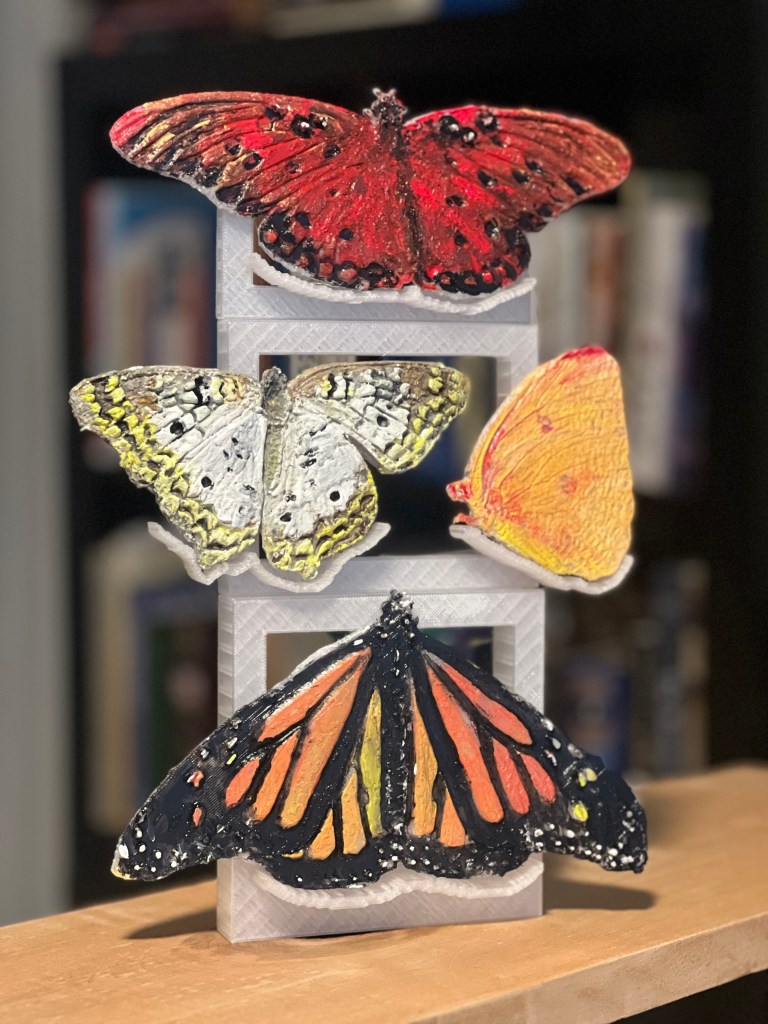
Step 5. postprocessing
Assemble your finished product and add any finishes. Enjoy.