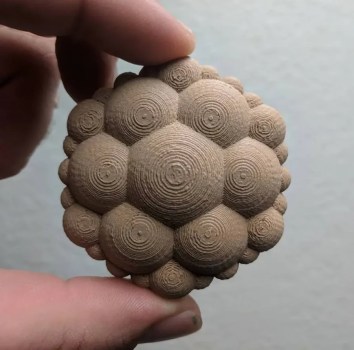
To continue the Drawing to Print method, I began with a new logo on the dry erase board, simplified the marks of the marker to one stroke and no refinishing. This logo we will call a gable array.
Demonstrated below are the three finishing approaches to image processing, 1) unfiltered, 2) blurred, 3) filled solid
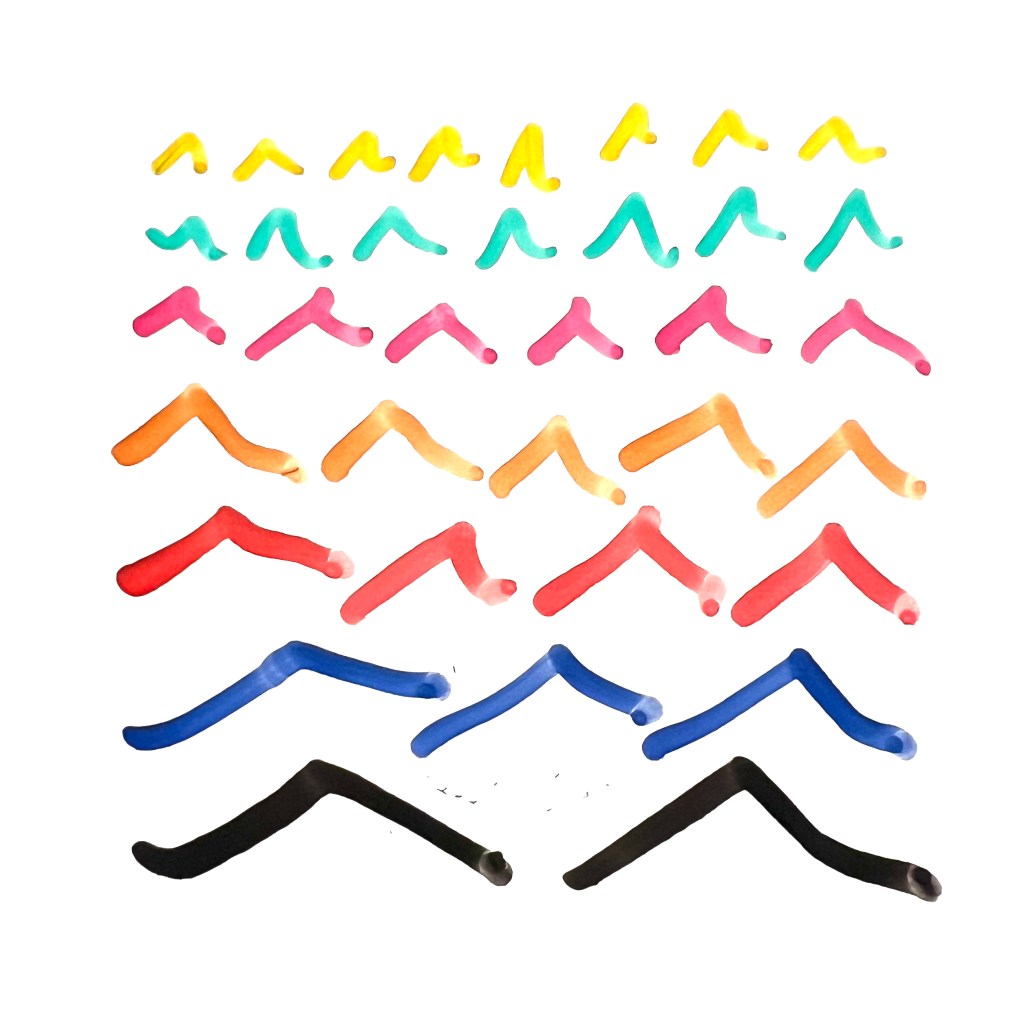
1) unfiltered

2) blurred only
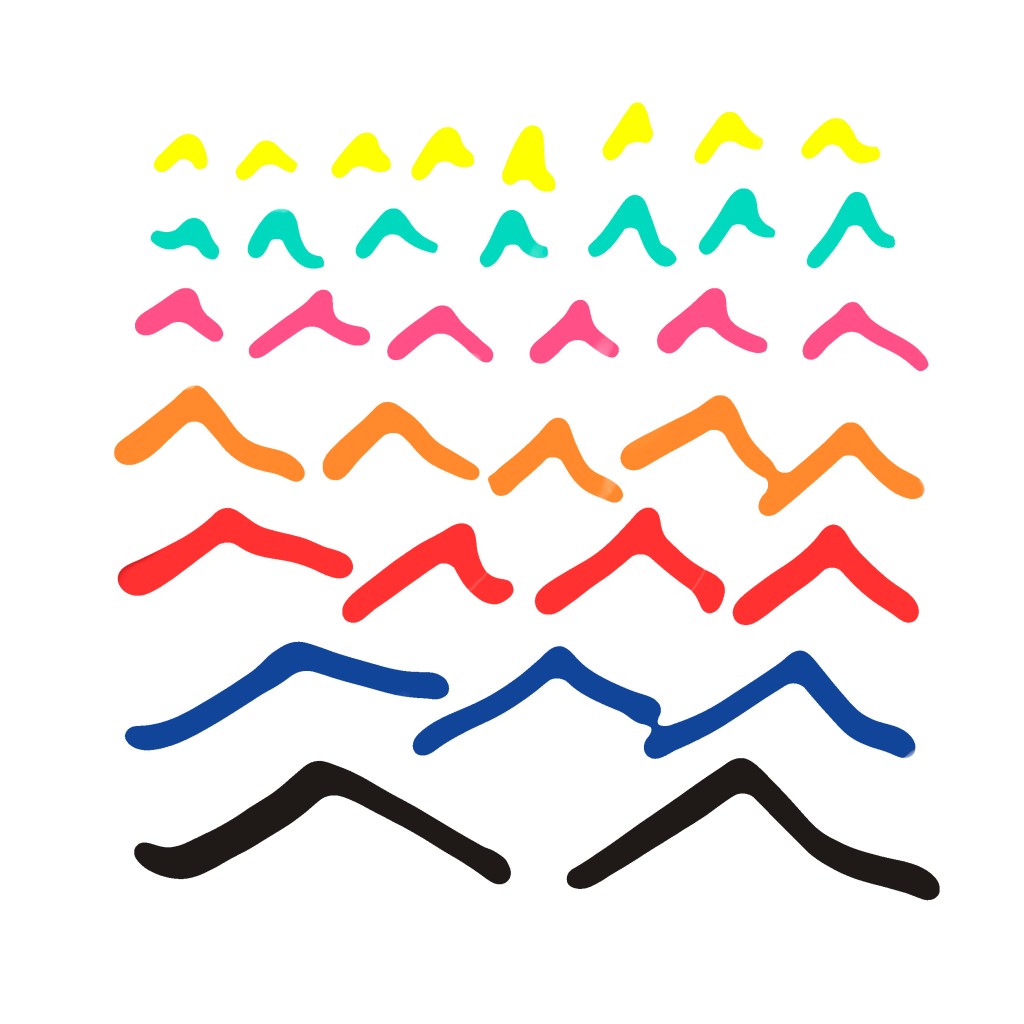
3) filled solid
We can now examine the results and qualities of each finishing approach. While slightly noticeable in the 2D editing software, they are significantly different when given 3D depth.
The unfiltered example is jagged and spiky. This is due to irregularities in the drawing instrument, the drawing surface and the lighting. In this case the dry erase marker has some high and low points that yields spikes.

The blurred only example has less jagged edges and spikes. It captures the hand drawn character very well.

The filled solid example is the most even and has the quality of an extrusion with a flattened surface at the tops of the gable array.

In conclusion, the results from the Drawing to Print method can take into account the intended finished texture, in scales of jagged to smooth, with unfiltered as the most jagged and filled solid as the smoothest. I would recommend opting out of the unfiltered and using blur smoothing at the least. When some depth of brush stroke is optimal, use the blur filter, and when flattened surface is optimal, select and fill solid.
