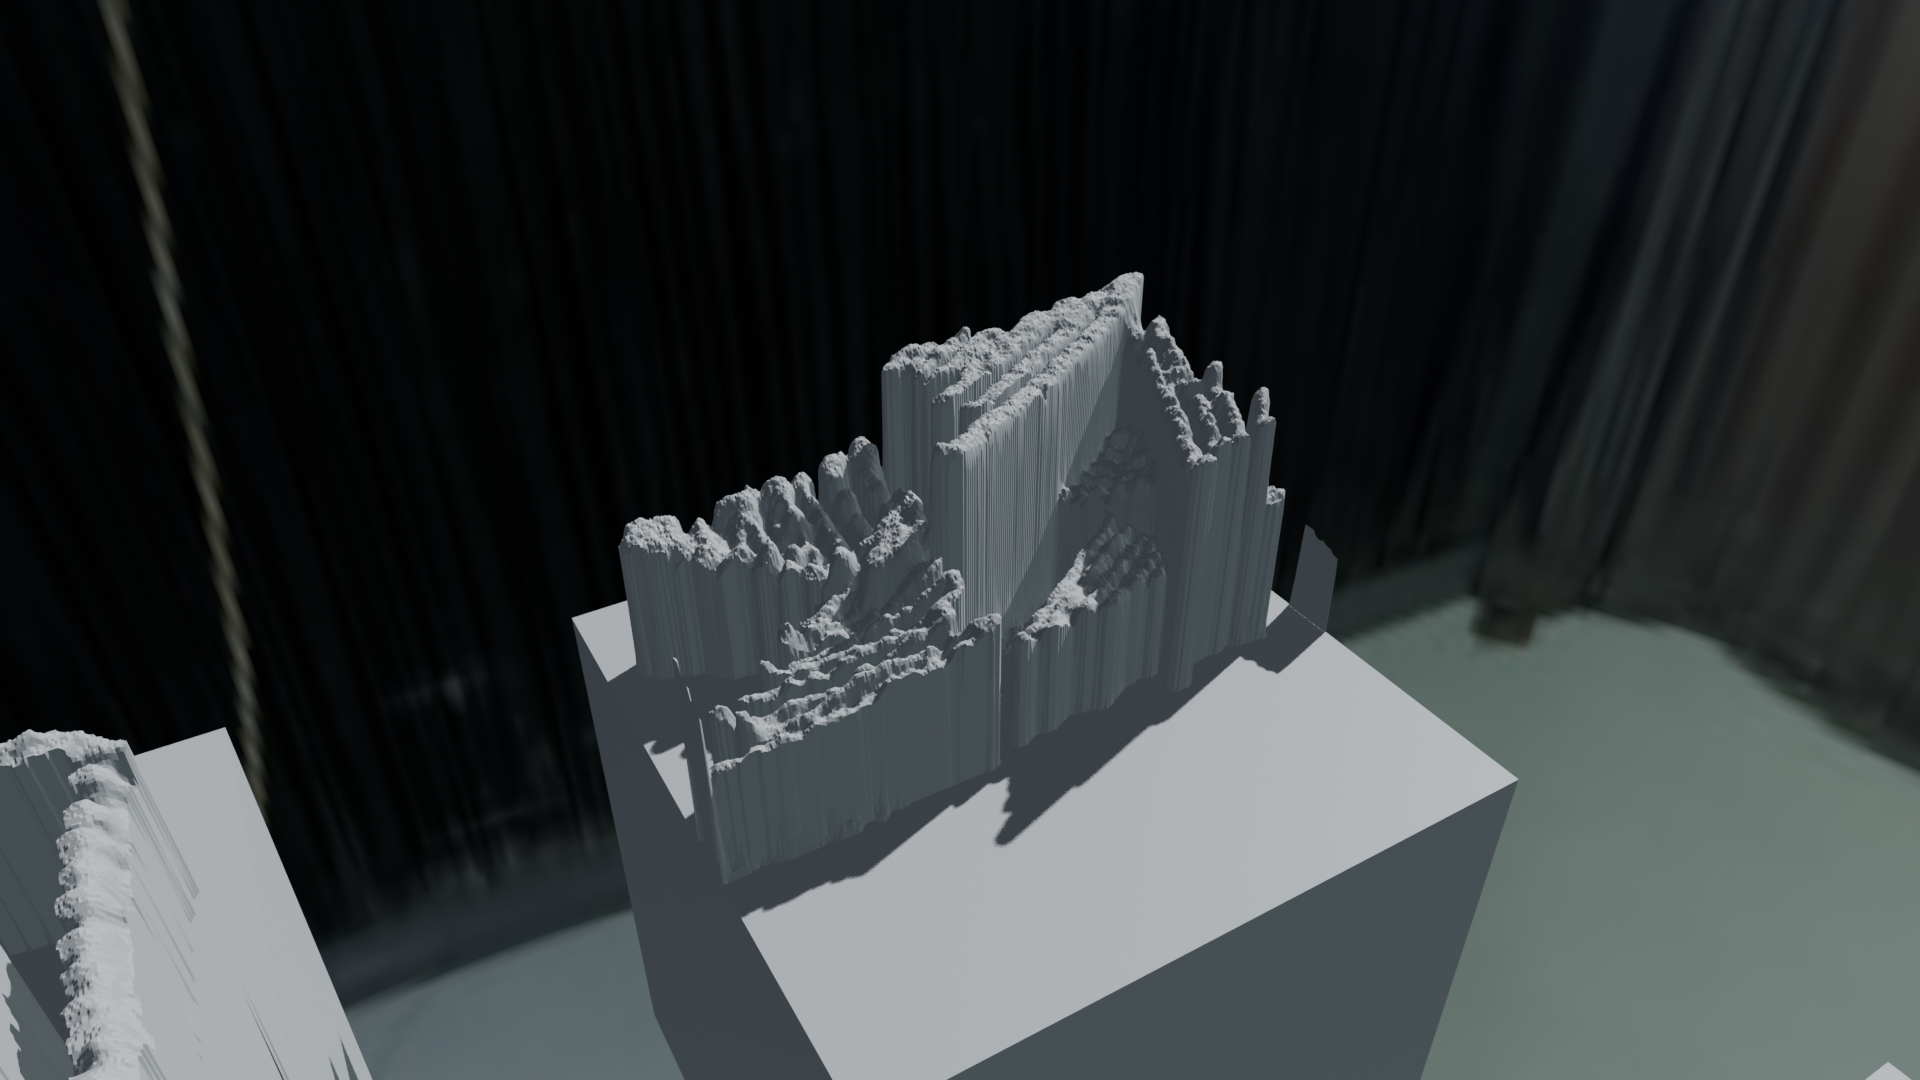

I have been working on a process for hand drawing depth maps, that will also work for hand drawn extrusions with levels using the tonal range applied in the drawing. Ultimately, these are to be digitally prepared for 3D prints. This is a status update at, I would say, midway in development. It is also at the image editing stage midpoint of the process: marker drawings -> image editing -> 3D printing.
Results of the first experiments, I made, did not go so well, I tried graphite of all sorts, brushes and inks of all sorts, but the inconsistency of the lines and tonal fields were troublesome, as was the quality of scan and the texture of the paper was more distraction and trouble. I initially thought chisel tip markers were a good option, yet had none on hand. Until now.
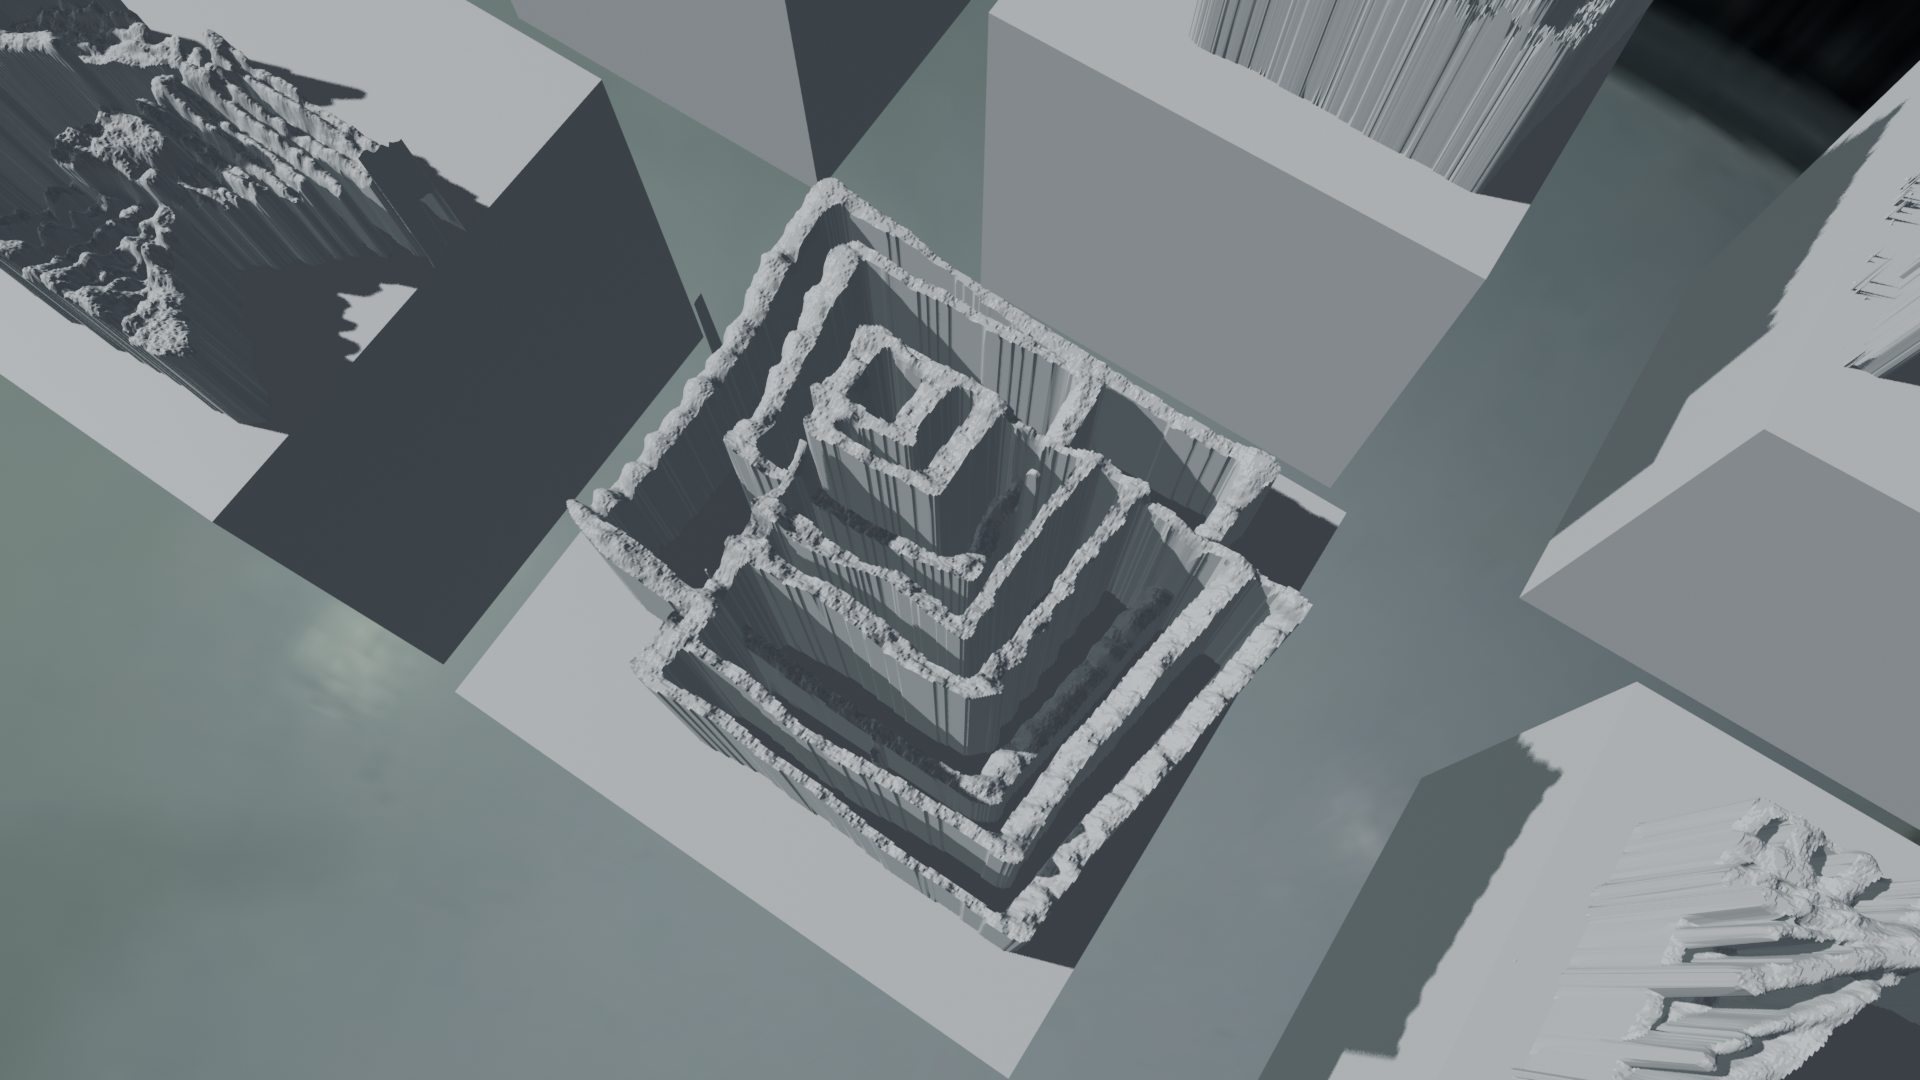
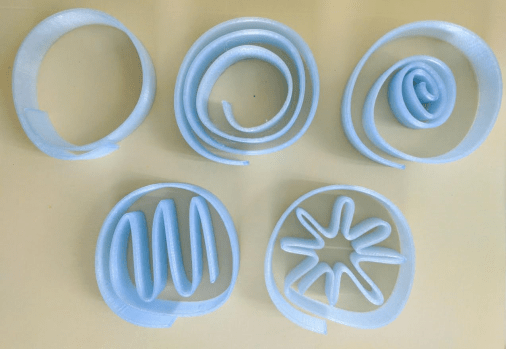
Here are the first three marker test sketches, the first is a hyperbola, second nested boxes, and the third is diagonals. I used a few shades of tone, I selected the black pen, the #9, #7, #5, #3 — the levels of tone are not as apparent as I had hoped.

1) hyperbola

2) nested boxes

3) diagonals
I realized these were extruding in a way that is too grainy still and found some image processing filters to blur them in my photo editor. This took out a lot of the points or spikes. You can see them paired, the original, completely spiky models and the more smooth models, in the images and animation below. Enjoy. These were test scribbles, which leads to the big question: what to draw next?